May 8, 2026 · Add Text
How to Add Text to an Image Online Without Photoshop
You have a photo and you need to put a few words on it — a headline for a thumbnail, a quote for a story post, a label on a product shot, a caption on a screenshot. You do not need a layer panel, an artboard, or a brush settings menu; you need a text box, a font, and the export button. That is the entire scope of the add text to image editor: drop a JPG, PNG, or WebP, type, pick a typeface, position the block, download. No account, no daily cap, and no watermark stamped on the result.
Why a focused text-on-image editor beats opening a design suite
The job of adding text to an image is small. It needs a canvas the size of your photo, a text block you can drag, a font, a color, and an export button. It does not need vector tools, a pen path, layer styles, blending modes, or a frame inspector — and yet most general-purpose editors put all of those in front of you before you can type the first character.
The cost shows up in friction: opening a project, sizing an artboard to your photo, importing the image, finding the type tool, choosing where the font menu lives, and only then writing the headline. A focused free text-on-image editor skips all of that — the canvas matches the photo automatically, the type tool is the page, and the font picker is one click away with live previews of every face on the list.
How to add text to an image in 5 steps
The online text overlay tool runs as a single page. Every step has a working undo, so nothing is locked in until you hit Download.
Drop your image onto the page
JPG, PNG, or WebP. The canvas adopts the native dimensions of your source — a 4000-pixel photo stays a 4000-pixel photo, so the text gets rasterised at the same resolution as the rest of the image.
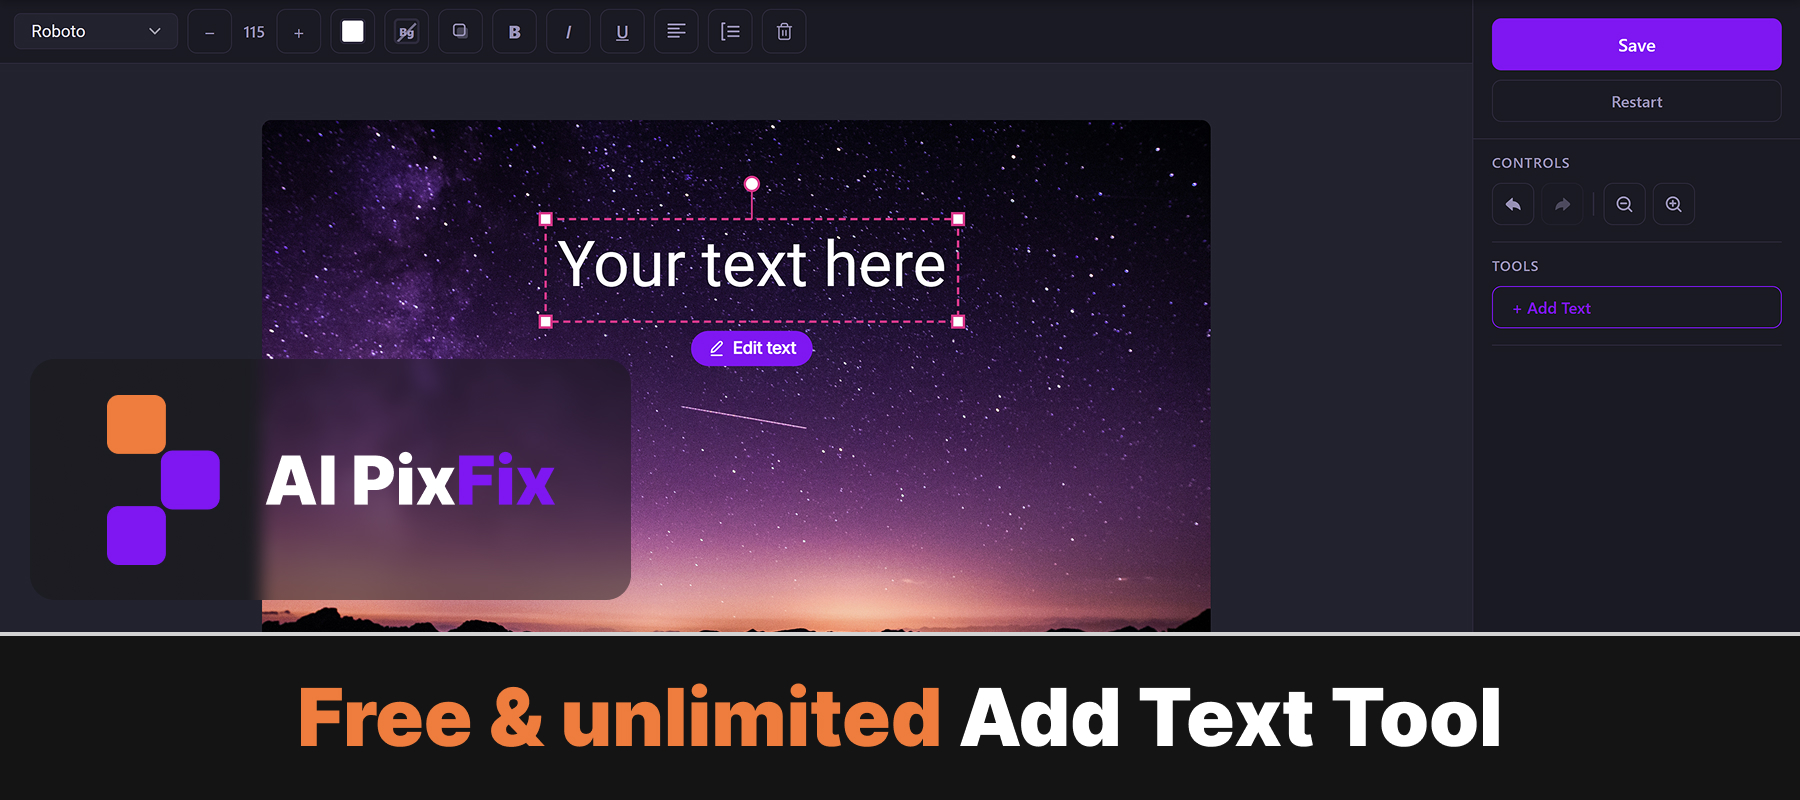
Add a text block and type
Click Add Text, type the words you want over the photo. The block appears centered with a placeholder style; you can drop more than one block onto the same image and style each one independently.
Pick a font from 100+ Google Fonts
Open the font picker and search by name or scroll the list. Hover any face and the active text block previews live on the canvas in that typeface — no commit step, no "apply" button. Pick a face and click out to keep it.
Style: color, size, shadow, alignment
Set the text color from the picker, drag the size slider, toggle bold or italic, switch alignment between left/center/right. Optional drop shadow scales with the font size automatically. Want the text to pop on a busy photo? Turn on the background plate behind the text — square, rounded, or beveled corners.
Position, rotate, download
Drag the block anywhere on the canvas. Drag a corner handle to scale, drag the rotation handle above the block to tilt it. When the layout looks right, click Download — the file saves as PNG named after your original photo, with no watermark added.
108 Google Fonts with live preview — pick a typeface that fits the photo
When you add text to a photo, the font carries half the message, so the picker matters. It ships with 108 typefaces sourced from Google Fonts — a mix of geometric sans (Inter, Poppins, DM Sans), classic serif (Lora, Merriweather, Playfair Display), display heads (Bebas Neue, Anton, Alfa Slab One), handwriting (Caveat, Sacramento, Permanent Marker), monospace (Roboto Mono, Space Mono), and a few specialty faces like Press Start 2P for retro game looks. All of them are licensed under the SIL Open Font License, so they are safe to use commercially in marketplace listings, ads, social posts, and product mockups.
The picker has a live filter — start typing a name, the list narrows. Hover any entry and the active text block on the canvas re-renders in that font instantly, so you can scrub down the list with the mouse and watch your headline change typeface in real time. That is faster than the typical web-typography workflow of clicking a face, waiting for it to load, deciding you don't like it, and repeating.
Photoshop and Figma can do this too — when a focused editor is faster
Adobe Photoshop and Figma both place text on an image well. Photoshop ships a full type engine with character and paragraph panels; Figma offers text frames with auto-layout, variants, and shared styles. Both are mature, professional design suites, and if you already have one open every day, that is the right tool for this job.
For everyone else, those suites cover hundreds of features that have nothing to do with putting one line of text on one photo. The setup tax is the part that adds up: an account, a workspace, a project file, an artboard sized to your photo, a layer for the image, a layer for the text, the right export preset on the way out. Someone who just wants a headline on a thumbnail is paying for the whole toolkit to use a sliver of it.
The browser text editor for images flips that ratio. Only the controls this single task needs are on screen — upload, type, pick a font, drag, download. There is no project file, no panel hierarchy, and no learning curve in the way; first-time visitors usually finish their first labeled image in under a minute, because the interface has nothing else to figure out.
Drop shadow, background plate, multiple layers — the polish details
When you add text to a photo, plain typography often disappears into the background — a white headline lands on a white sky and reads as nothing. The editor has three lightweight controls that fix this without opening a layer-styles dialog.
One toggle. Adds a soft shadow underneath the text with blur radius scaled to the font size, so the same setting works on a 24-pixel caption and a 240-pixel headline. Fixes most low-contrast cases without any extra tuning.
A colored rectangle behind the text — square, rounded, or beveled corners. Pick any color (a solid block or a translucent tint via opacity) and the text instantly reads on top of the busiest photo. The plate auto-sizes to the text and re-flows when you edit.
There is no cap on the number of blocks. Stack a headline, a subhead, and a small caption — each with its own font, color, rotation, and alignment. Move them independently; they don't share an anchor.
Per-block toggles for bold, italic, and underline. Alignment is left, center, or right inside the block frame, with the line height adjustable so multi-line text doesn't crash into itself.
Drop the opacity of one block to make a watermark-style fade without affecting the others. Useful for a faint tagline behind a dominant headline.
Wrong call? Undo and redo cover every change — a 5-step history keeps the last few moves reachable, so experimenting with a font swap or a color change is free.
No sign-up, no watermark — runs in your browser
Everything you need to add text to an image — rendering, font loading, layout, and export — happens on the same page. Your image is read as a local file, painted onto an HTML canvas using the standard Canvas text rendering API, and the result is downloaded back to your device. Nothing is uploaded, nothing is stored between sessions — the whole edit lives in the tab and disappears when you close it.
Because there is no per-image server cost, there is no business reason to gate the result. AI PixFix adds no watermark, applies no daily cap on how many images you label, and asks for no email or account before exporting. The PNG you download is the exact composite you built — at the dimensions of the source image you supplied.
Frequently asked questions
Can I add more than one text layer to the same image?
Yes — there is no limit on the number of text blocks. Each block carries its own font, size, color, rotation, alignment, opacity, line height, drop shadow, and optional background plate, so a headline + subline + small caption is one composite, not three separate exports.
Can I rotate text or place it at an angle?
Yes. Every text block has a rotation handle above its frame — drag it to spin the block to any angle. Rotation is independent for each block, so a tilted caption can sit on top of a horizontal headline without one affecting the other.
Will the text stay sharp on a high-resolution photo?
Yes. The text is rasterised at the full native resolution of your source image, not at the on-screen preview size. A 4000-pixel photo gets text rendered against a 4000-pixel canvas, so the exported PNG looks the same as the typography you saw in the editor — no blurring on print or zoom.
Does the editor work without an internet connection?
After the page has loaded once and the Google Fonts stylesheet has been cached, the editor keeps working offline. Your image stays on your device, the canvas runs locally, and the export is generated on your machine. The only thing that requires the network is fetching new fonts you have not used before.
Can I undo a mistake?
Yes. The editor keeps a 5-step undo/redo history, covering every edit — moving a block, changing a font, switching color, toggling shadow, resizing. If you go too far, step back; if you change your mind again, redo.
Drop your photo, add text to the image, pick the font, drag the block into place, download a PNG — no account, no daily cap, no watermark. Add text to as many images as you want, free.
Open the editor